I have a confession to make. As someone who has worked in the horticulture industry for over 20 years with flower bulbs specifically for 13 years, there are some plants I haven’t grown. Shocking. Right? You would think I would have had the opportunity to grow a whole botanical garden worth of plants. Nope, the reality is throughout these twenty years I haven’t always had a yard of my own, or the light conditions needed to grow all the things I want.
While I have grown my fair share of bulbs, perennials, and annuals. The confession is I have never grown anemone or ranunculus bulbs. This spring I am changing that and will be planting ranunculus corms and anemone corms for the first time. I invite you to follow along with the first steps of planting ranunculus and anemone, we can learn together!
Planting Ranunculus for the First Time
I was motivated to plant ranunculus this spring for a couple of reasons. The first is that Holland Bulb Farms has increased the variety and color choices offered. In addition to more color choices of ranunculus, they are offering the patented and world-famous Tecolote Ranunculus. If you aren’t familiar with Tecolote Ranunculus these types originate from growers in the Carlsbad fields in California. Tecolote Ranunculus produce large double flowers with sturdy stems. They are popular for cut flower arrangements and bouquets.
The second reason is that when it comes to gardening I enjoy a challenge. Most flower bulbs are very easy to grow. Some even prefer when you forget about them, especially in their dormant state. I am not saying ranunculus are difficult to grow. However, they do have more requirements for success than most bulbs. I wanted to experience for myself if they are tricky, or more likely just have a few more rules to follow for success.
How to Plant Ranunculus Bulbs in Spring
Ranunculus bulbs can be planted in the ground, but also grow well in containers. I have decided to plant the ranunculus in containers. Planting in containers allows more control of the environment which is important for these bulbs. If the goal is to have the ranunculus growing directly in the garden it is still advisable to start them in pots and transplant them into the garden.
For ranunculus bulbs to grow they have a specific temperature range they need to grow. In order for these bulbs to sprout they need to be planted when the daytime temperatures are in the 50s and 60s. The nighttime temperatures should be in the 40’s and 50s’.
Spring in Wisconsin and other cold to moderate climates is the best time to plant ranunculus bulbs. While there may be some days a bit warmer than 60 or a bit cooler than 40 at night, the average temperatures for the next 4-8 weeks meet the requirements. By planting the ranunculus in pots if the temperatures dip below freezing I will be able to protect the bulbs by moving the pots to a temporary warmer location.
Steps to Planting Ranunculus
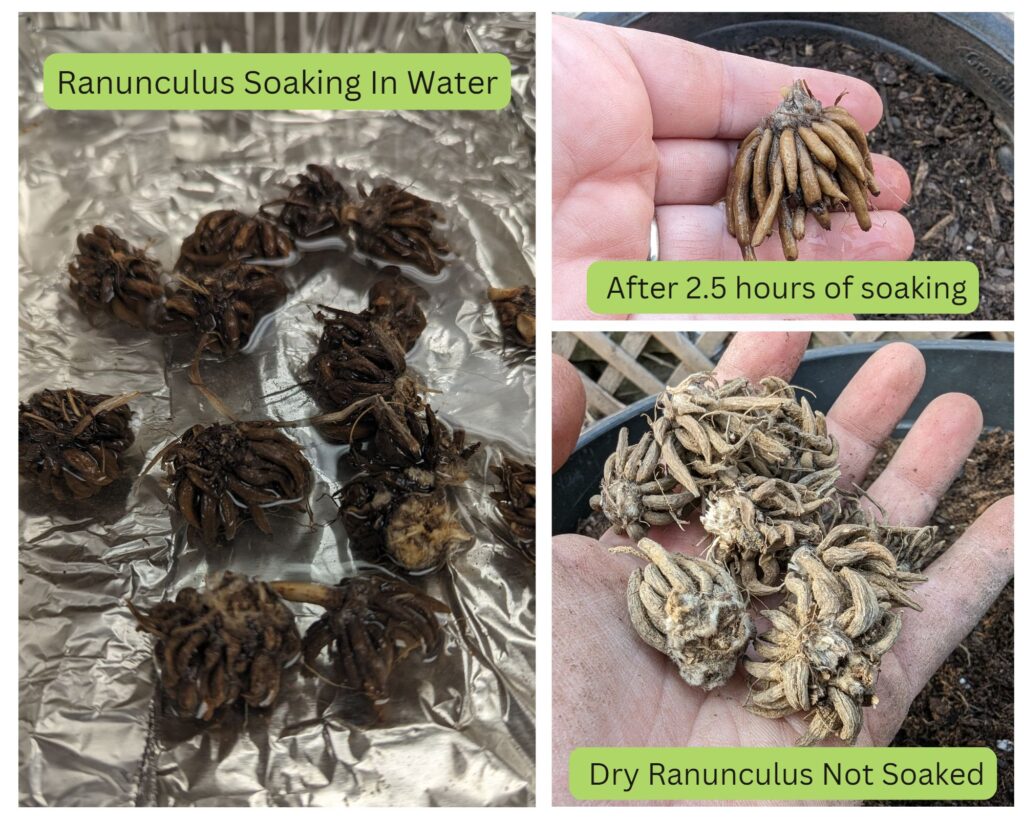
The first step is to soak the ranunculus bulbs in room temperature water for 2-3 hours. However, I will admit we have an unintentional experiment that is about to occur.
The first two containers of ranunculus I planted a couple of days ago I did not pre-soak prior to planting. Therefore, some of the bulbs were soaked to help plump them up and add moisture, and others were dry when planted. I forgot that soaking ranunculus before planting was suggested. When I looked into planting instructions more I learned the importance of soaking the bulbs.
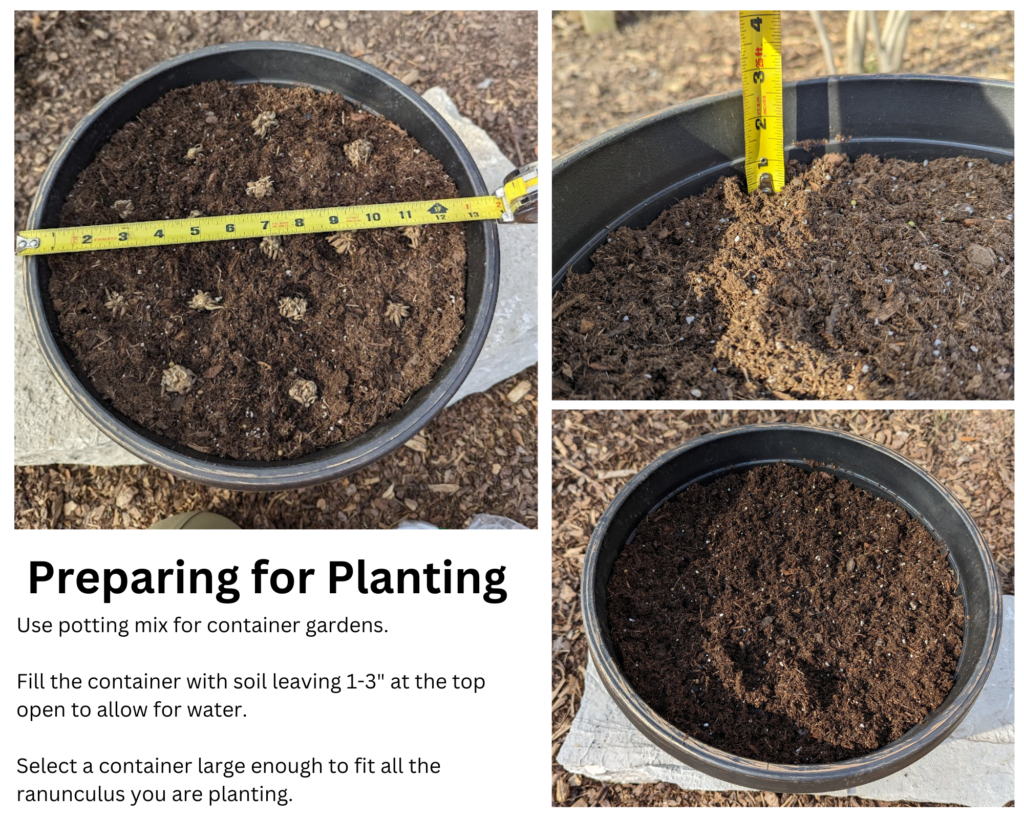
While the ranunculus are soaking get your containers ready. I used potting soil that was labeled for container gardens, as this soil tends to be light and fluffy with good drainage.
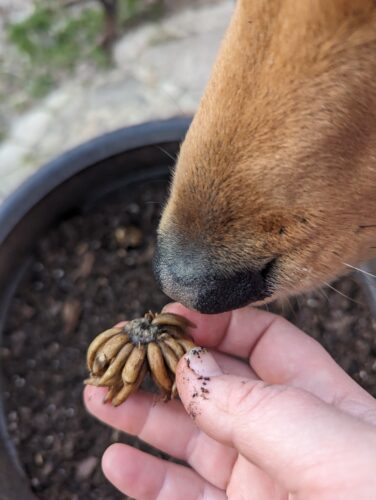
 The most important step to planting ranunculus is to have your dog inspect the bulbs for quality prior to planting! Just kidding he’s just a little nosy sometimes:)
Ranunculus Planting Time
Once the bulbs have soaked for 2-3 hours and your containers are ready, it’s time to plant. Plant ranunculus bulbs 1-2″ deep. The suggested spacing is 4-6″, however, I like my containers to be full therefore some bulbs were planted a bit closer.
I arranged the bulbs in a circular pattern prior to planting. Once they were set where I wanted them I gently pushed them into the soil so they were just below the surface. Then I added 1″ of additional potting soil over the bulbs.
Lightly water the bulbs after the initial planting so the soil is slightly damp. Until sprouts are visible adding additional water isn’t necessary and could lead to rotting. However, if rain does occur the soil and bulbs can get wet with no concern of complications. If a rainy pattern emerged monitor the pots to ensure the soil is not overly saturated. Move the pots to a place they won’t get rained on if a rainy pattern emerges and the soil begins to look overly saturated.
Now, it’s time to wait. Ranunculus will sprout in 4-6 weeks as long as the temperatures are in the range they need. The best thing to do during this time is to check the soil and the bulbs every couple of days. I already noticed some squirrels were digging in the pots, and therefore, I will need to protect the bulbs from critters.
How to Plant Anemone in Spring
Anemone are a group of plants that can grow from a corm which is a type of bulb. There are also perennial varieties of anemones that grow from a root. This blog post is about growing anemone from corms. Specifically, the Anemone cornonaria types have a more specified set of growing conditions they prefer.

Anemone coronaria are winter hardy in zones 7-10. Therefore, gardeners in colder climates should plant these bulbs in spring to early summer. However, the mild temperatures of spring will provide the optimal conditions for these bulbs to take root and sprout.
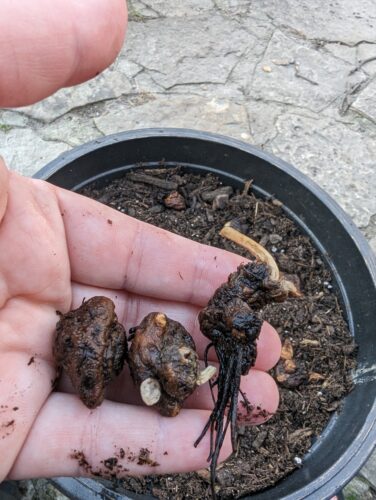
The main thing to do when planting anemone is to soak the corms for 2-3 hours. Anemone corms have a hard outer shell, soaking the bulbs prior to planting helps the bulbs to emerge better.
While the bulbs are soaking, prepare the soil. I decided to plant the anemone in containers just like I did with the ranunculus. This way if the weather is not favorable I can temporarily relocate the pots to a more favorable location.
Use a potting mix labeled for container gardens. Leave 1-3″ of space at the top of the pot to allow space for water.
After 2-3 hours of soaking you will notice the bulbs have plumped up a bit, this is a good sign!
Anemone Planting Time
Anemone can be tricky to tell which side is up. I noticed on some of the corms there were leftover roots from the previous season, which is a good indicator of which side to plant in the ground. However, they weren’t all like this. Therefore, lay the bulbs on their side, they will know to reach for the light and grow in the proper direction.
Plant the anemone 1-2″ below the soil surface. Lay the bulbs out with 4-6″ spacing, or closer if you want a full look. Once the bulbs are arranged in the container, gently push them into the soil so they are just covered slightly. Add an additional 1″ of potting soil over the bulbs. Lightly water and wait 4-6 weeks for the bulbs to sprout. Again, like with the ranunculus watering while dormant isn’t necessary, and could lead to rotting. Natural rain is ok, just monitor the pots to make sure the soil is not becoming too saturated during a rainy spell.
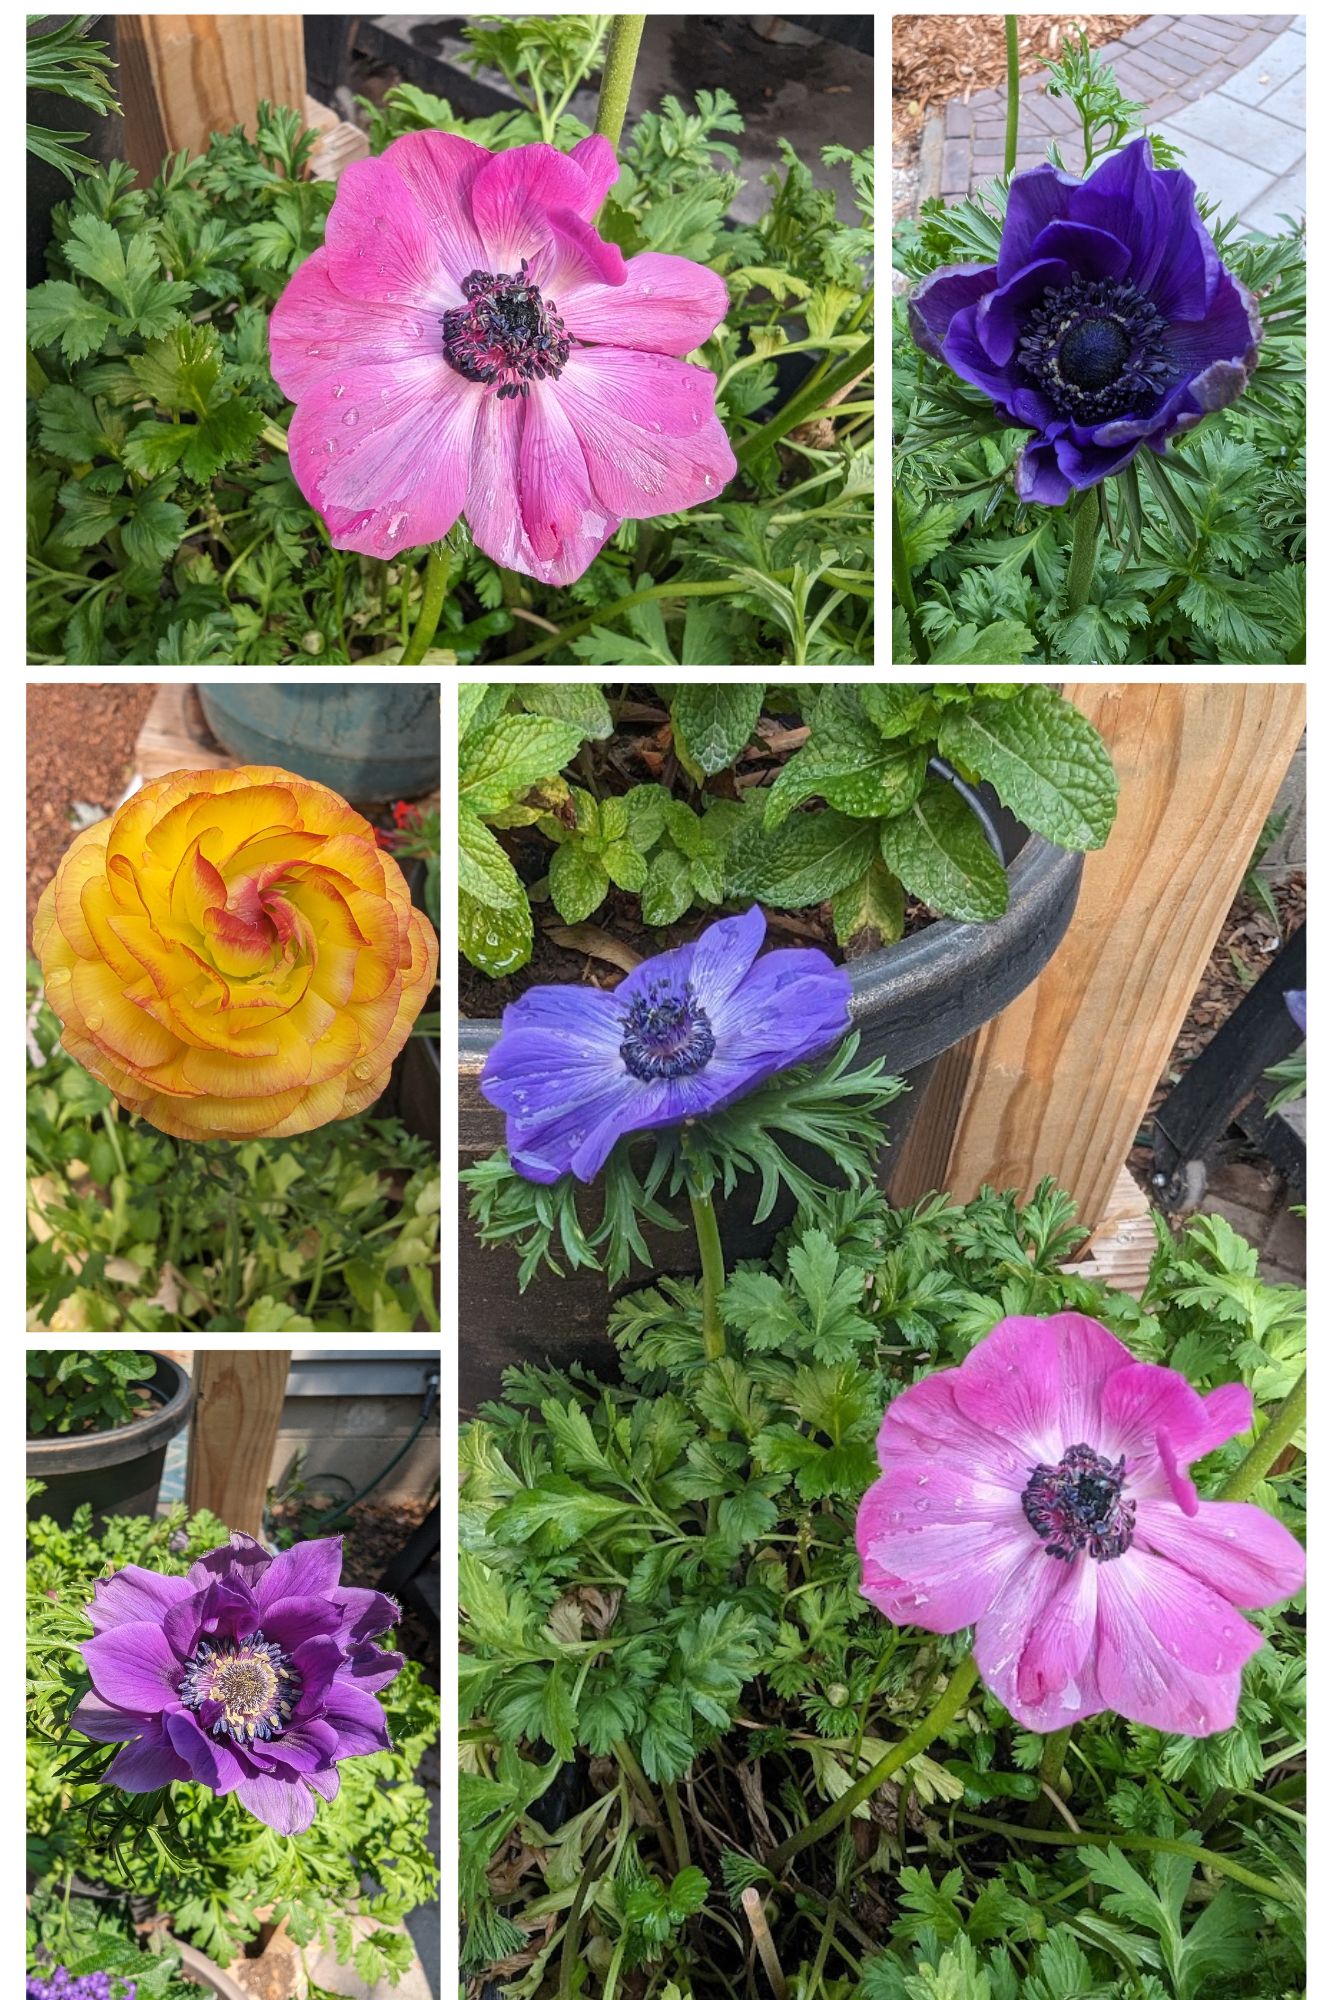
Ranunculus and Anemone Planting Trial
I am in the early stages of this new planting endeavor. Mistakes may occur along the way. However, I am here to make them and correct them so you don’t make the same mistakes as may make. This is part one of planting anemones and ranunculus in spring. When they begin growing and blooming, I will be sure to follow up with the results in a month or two.
Results in June of 2023