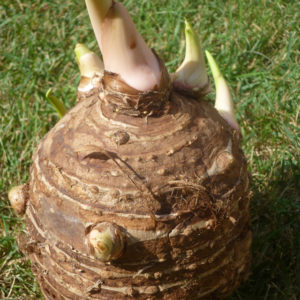
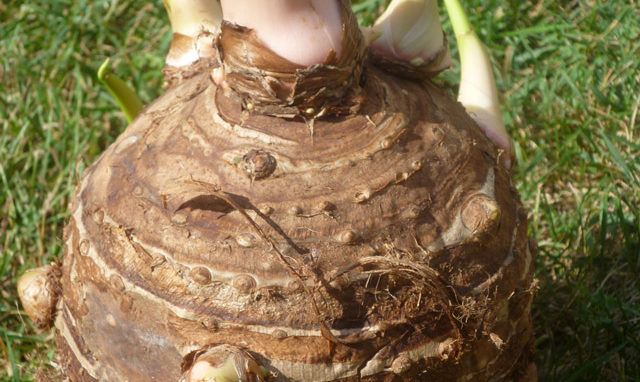
Caught in a Dahlia Daydream: Planting and Growing Dahlias
By Jenny San Filippo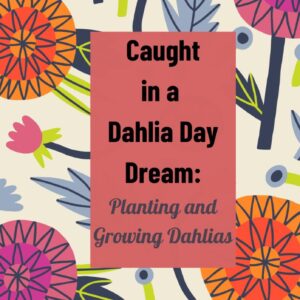
Read More »
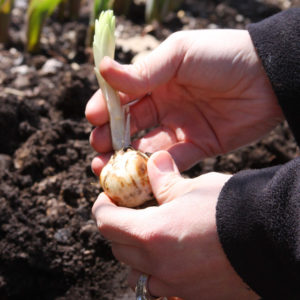
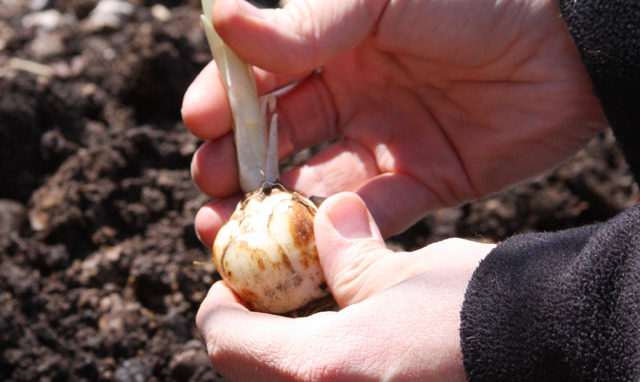
Dahlias are a true wonder to behold in the summer garden. They are known for their vibrant colors and tightly packed, often large, flower heads. In this article, we’ll review the advantages of using these beauties in your garden plus tips on planting dahlias, growing dahlias, and dahlia aftercare advice. Dahlia Details: Classification, Planting, Growing and Storage Tips Classification Dahlias…Read More