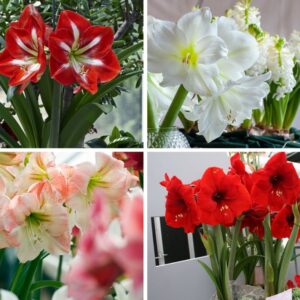
Different Kinds of Amaryllis Bulbs: Deciding Which is Best for You!
By Jenny San Filippo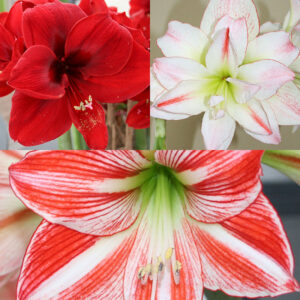
Read More »
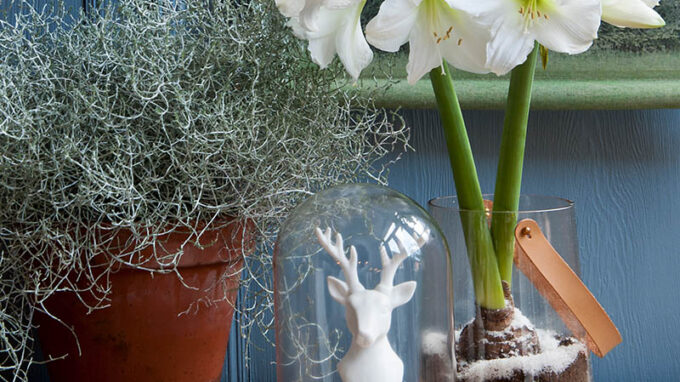
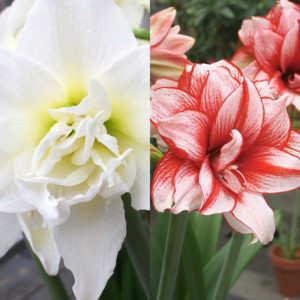
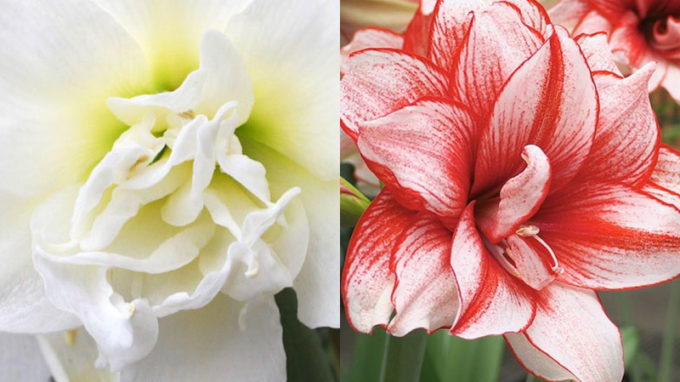
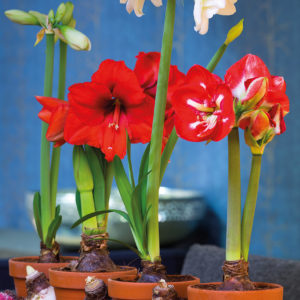
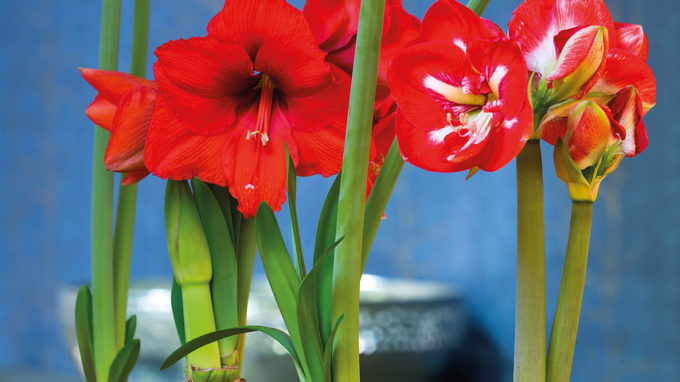
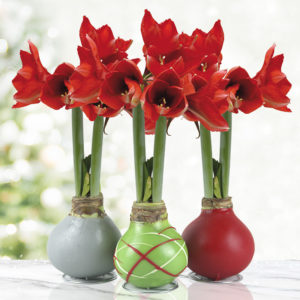
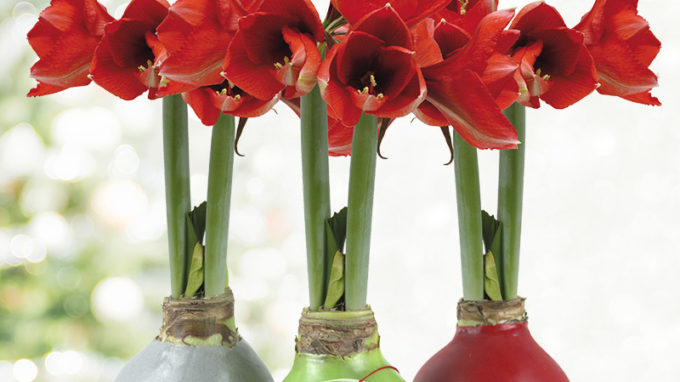
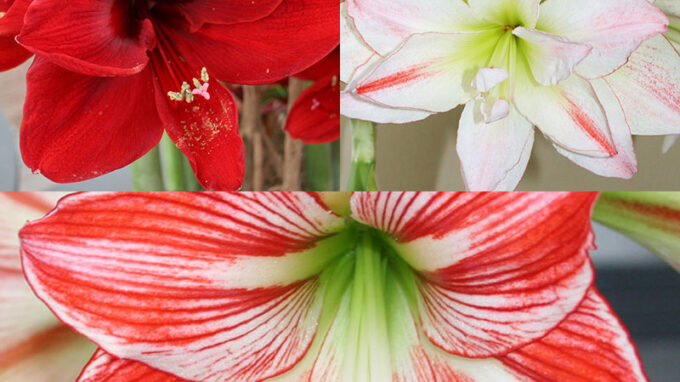
The choices for amaryllis bulbs are greater than ever. Amaryllis are sold as just the bulb and come in various colors and bloom styles. They are also sold as kits with soil and a pot to plant the bulb in. Pre-potted amaryllis are ready to grow. Newer to the market are waxed amaryllis and amaryllis wearing adorable sweaters. It can…Read More