Commonly Asked Tulip Questions
By Jenny San Filippo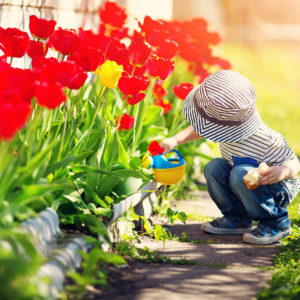
Read More »
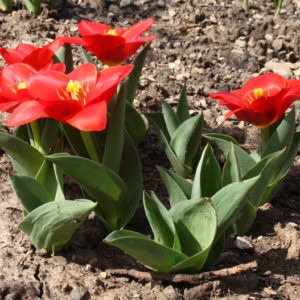
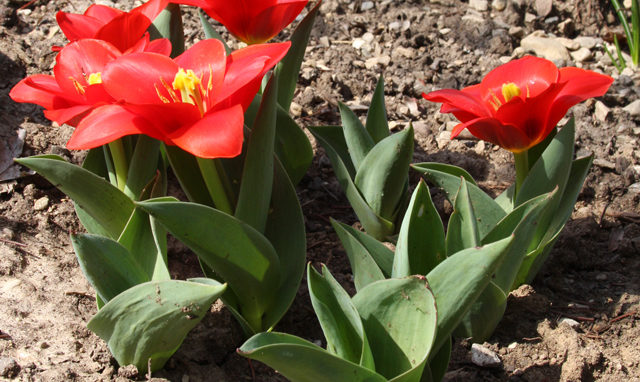
Spring is either here or soon to be here, depending on where you live. One of the biggest symbols of spring is flowers blooming in your garden and on trees and shrubs. Tulips are one of the most recognizable flowers that bloom in spring. These fall-planted flower bulbs are generally easy to grow, but that doesn’t mean there aren’t a…Read More