

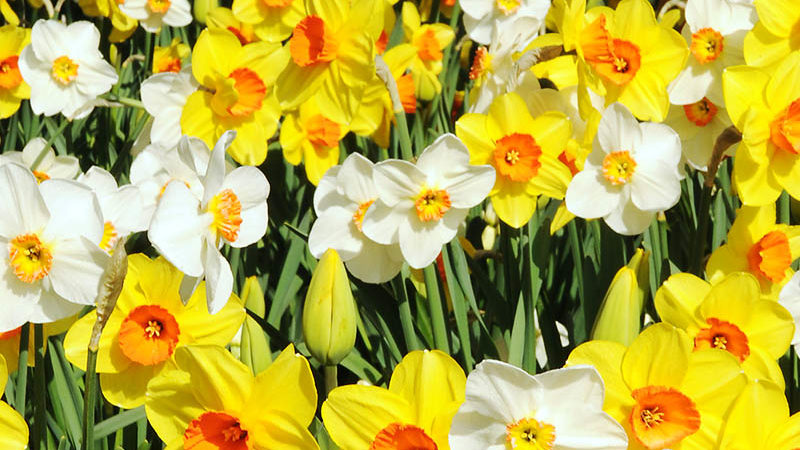
Rejoice in Spring Renewal with Inspirational Gardening Quotes
By Jenny San Filippo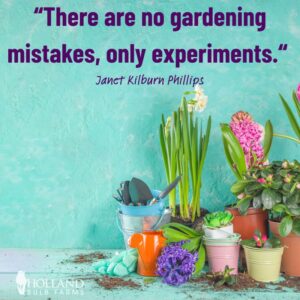
Read More »
We all need a little inspiration at times. Whether it’s inspiration to start working out, eat better, or start that next home improvement project, sometimes we just need a little spark. Being the garden enthusiast you are, you probably don’t need any inspiration to get into the garden. Or do you? As joyful and fulfilling as gardening is, it can…Read More